Creating a custom sex doll at home has become increasingly accessible to DIY enthusiasts seeking personalized alternatives to mass-produced options. The DIY approach to making a sex doll at home offers advantages beyond cost savings—it enables complete customization, creative expression, and a deep understanding of product construction. Whether motivated by cost considerations, specific design preferences, or simple creative curiosity, beginners can successfully navigate the process of building a homemade sex doll using readily available materials and straightforward techniques. This comprehensive guide walks through essential steps, material selection, construction methods, and finishing touches that transform basic components into functional, satisfying homemade creations.
What Essential Materials Do Beginners Need to Make a Sex Doll at Home?
Gathering appropriate materials represents the foundational step where success or disappointment begins for anyone attempting to make a sex doll at home. Quality outcomes depend directly on material selection, with beginners who invest in appropriate components producing significantly better results than those attempting to use inferior substitutes. Understanding which materials authentically deliver functionality, safety, and durability separates realistic homemade projects from frustrating failures.

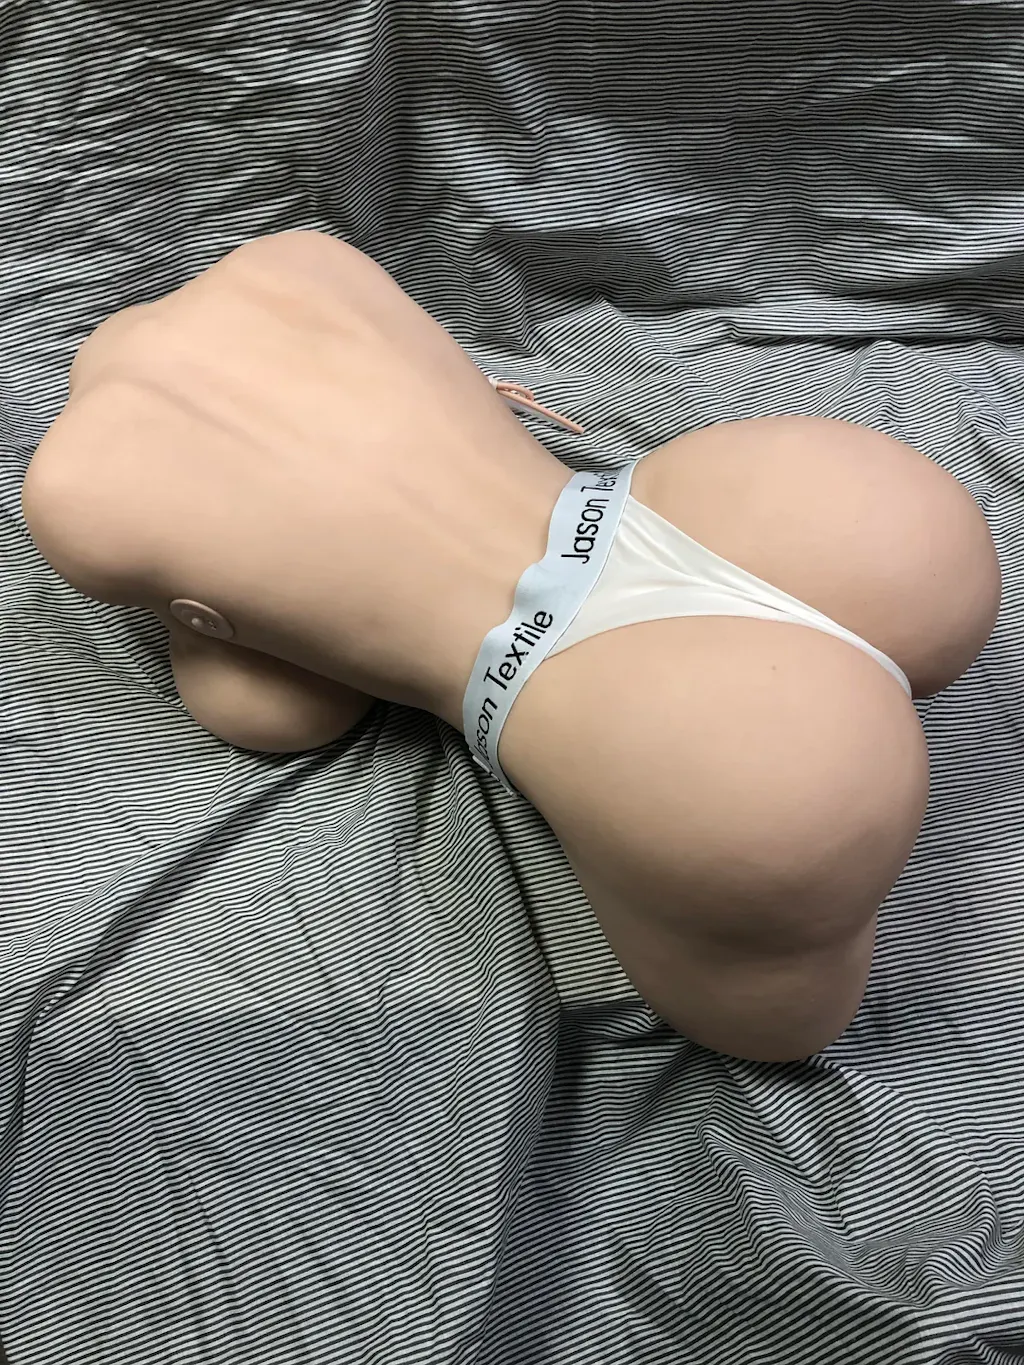
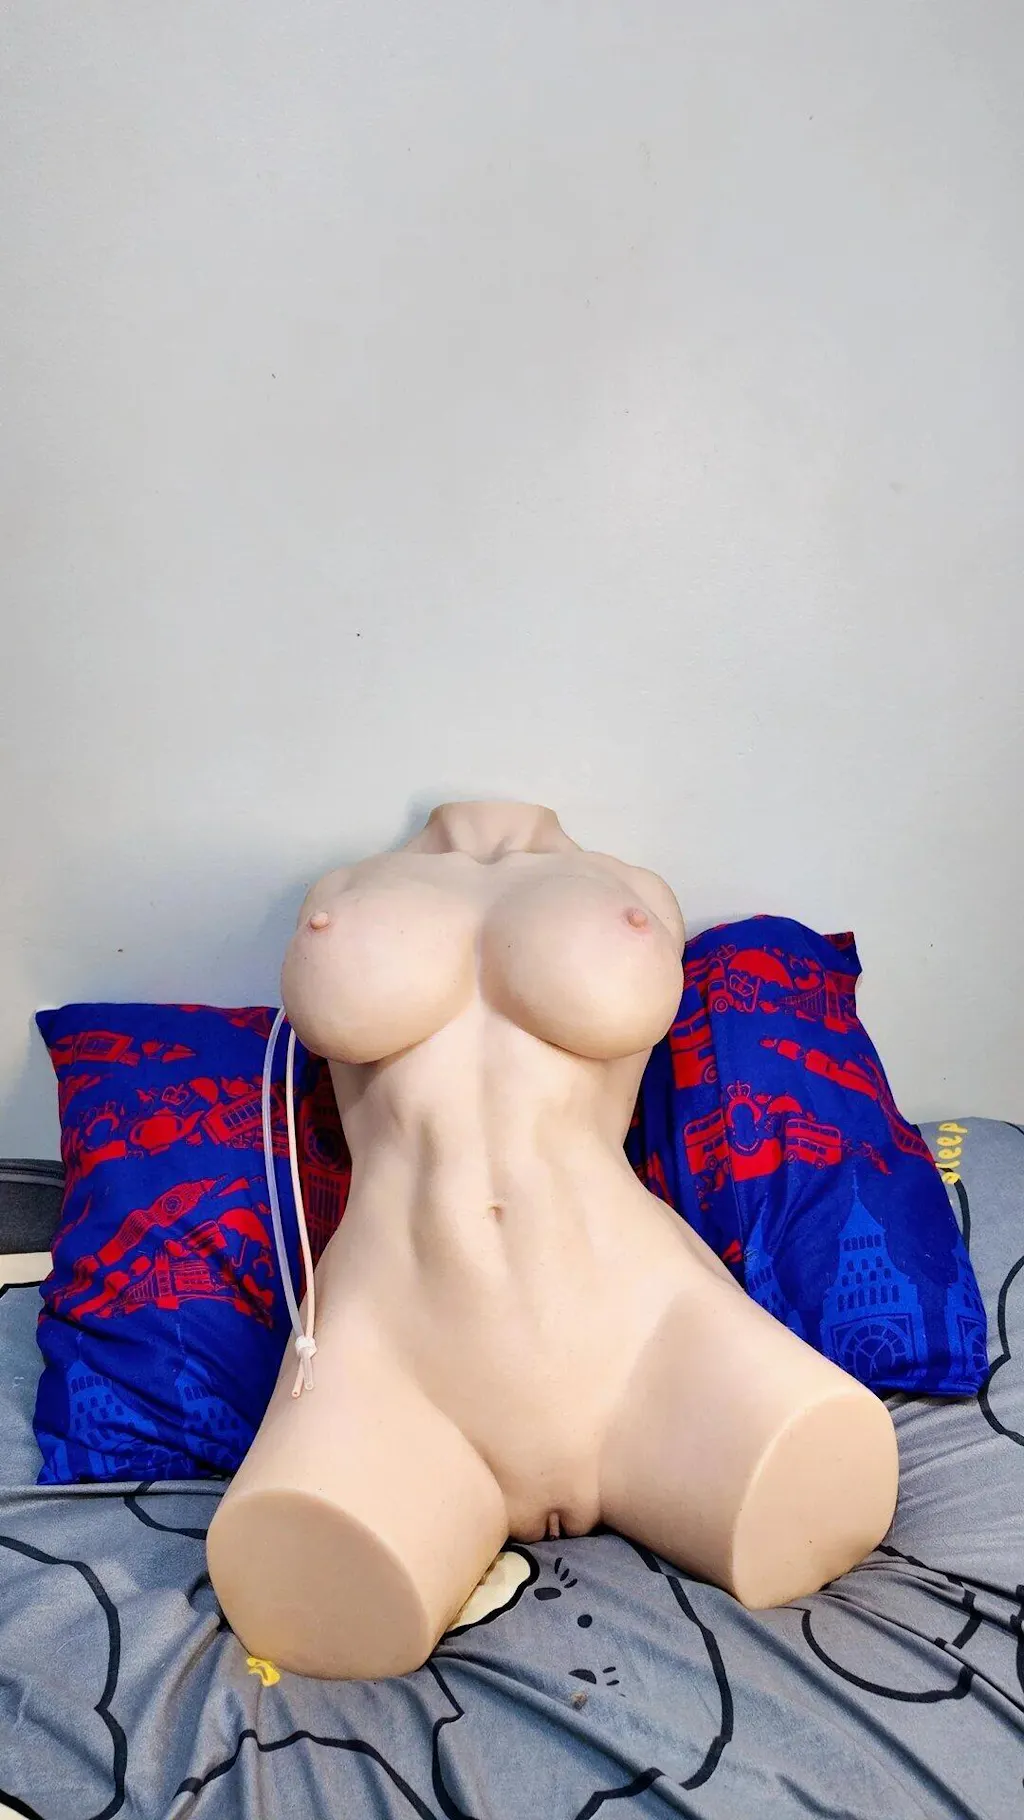
Silicone emerges as the preferred choice for most home builders attempting to make a sex doll at home, offering superior properties that alternative materials cannot match. Medical-grade silicone provides hypoallergenic qualities, exceptional durability, realistic skin-like texture, and straightforward workability that makes it ideal for beginner projects. While silicone costs more than budget alternatives, the superior results and extended product lifespan justify the investment for anyone serious about creating functional homemade products.
TPE compounds present an accessible alternative for beginners on tighter budgets seeking to make a sex doll at home with reduced material costs. Thermoplastic elastomer offers workability, reasonable durability, and acceptable tactile properties, though it requires more careful handling than silicone and degrades faster over extended periods. The choice between silicone and TPE fundamentally impacts both the building process and final product quality.
| Primary Material | Key Properties | Cost Range | Durability | Best For |
|---|---|---|---|---|
| Medical-Grade Silicone | Hypoallergenic, heat-resistant, non-porous | $50-150 | Excellent (5-10+ years) | Premium homemade dolls, long-term use |
| TPE Compound | Flexible, moldable, cost-effective | $20-60 | Good (2-5 years) | Budget builds, beginner experimentation |
| Body Filler/Epoxy | Structural support, shapeable | $10-30 | Very Good | Internal framework, reinforcement |
| Fabric/Mesh | Support structure, framework base | $5-20 | Good with proper sealing | Internal structure, shape maintenance |
| Steel/Wire Support | Rigid support, poseable joints | $15-40 | Excellent | Skeletal framework, joint articulation |
-
Primary Body Material (Silicone or TPE): 10-20 pounds of appropriate compound forms the main body structure. Calculate requirements based on desired doll size and construction method.
-
Internal Framework Components: Steel wire, aluminum tubing, or PVC framework provides skeletal support. Flexible steel joints enable poseable construction for make a sex doll at home projects.
-
Reinforcement Materials: Fiberglass mesh, fabric reinforcement, or carbon fiber sheets strengthen structural integrity and prevent premature failure points.
-
Molding and Shaping Supplies: Molds, sculpting tools, spatulas, and shaping implements facilitate precise construction for anyone attempting to make a sex doll at home.
-
Finishing Materials: Coloring pigments, texture additives, sealants, and protective coatings achieve professional appearance and protect finished products.
"Material selection fundamentally determines whether homemade projects succeed or disappoint. Beginners investing in appropriate quality components produce results justifying their material investments through superior functionality and extended product lifespan." - Dr. Rachel Thompson, Materials Engineering Specialist
Sourcing materials requires identifying suppliers offering appropriate components for makers attempting to make a sex doll at home. Specialized silicone suppliers, craft retailers, online marketplaces, and industrial suppliers all carry relevant materials. Beginners benefit from researching supplier reviews, comparing material specifications, and purchasing small test quantities before committing to larger orders.
What Step-by-Step Construction Process Enables Beginners to Successfully Make a Sex Doll at Home?
Moving beyond material selection into actual construction separates conceptual understanding from practical application where most beginners encounter real challenges. The construction process for make a sex doll at home projects typically follows predictable phases: creating internal framework, building outer body structure, developing interior features, and applying finishing touches. Breaking complex projects into manageable phases prevents overwhelm and guides systematic progress.
Internal framework creation establishes structural foundations supporting everything else, with skeletal construction determining whether finished products remain poseable and durable through extended use. Creating flexible joints, reinforcing stress points, and ensuring weight distribution prevents structural failures that render homemade projects unusable. Beginners who invest adequate time in framework construction typically achieve superior results compared to those rushing toward external appearance.
Begin by creating a basic skeleton using steel wire or aluminum tubing, forming a wireframe approximating doll proportions. Flexible joints at shoulders, hips, and knees enable positioning adjustments essential for functional dolls. Reinforce framework stress points using fiberglass mesh or reinforced epoxy, preventing joint failures during use. Test framework flexibility and weight-bearing capacity before proceeding with outer body construction.
Body structure development transforms the internal skeleton into an actual doll shape using primary body materials. Whether using silicone or TPE, the molding process requires precise technique and patience. Many beginners choose layering approaches—building body structure in sections before combining components. This method reduces material waste, permits easier corrections, and allows adjustment of proportions during construction rather than discovering problems after complete assembly.
Layer silicone or TPE material around the internal framework, building body contours gradually. Use molds or hand-sculpting to achieve anatomical accuracy matching design intentions. Ensure adequate material thickness—typically 1-2 inches—to provide durability and realistic sensation. Allow each layer to partially cure before adding subsequent layers, preventing material failure or structural collapse.
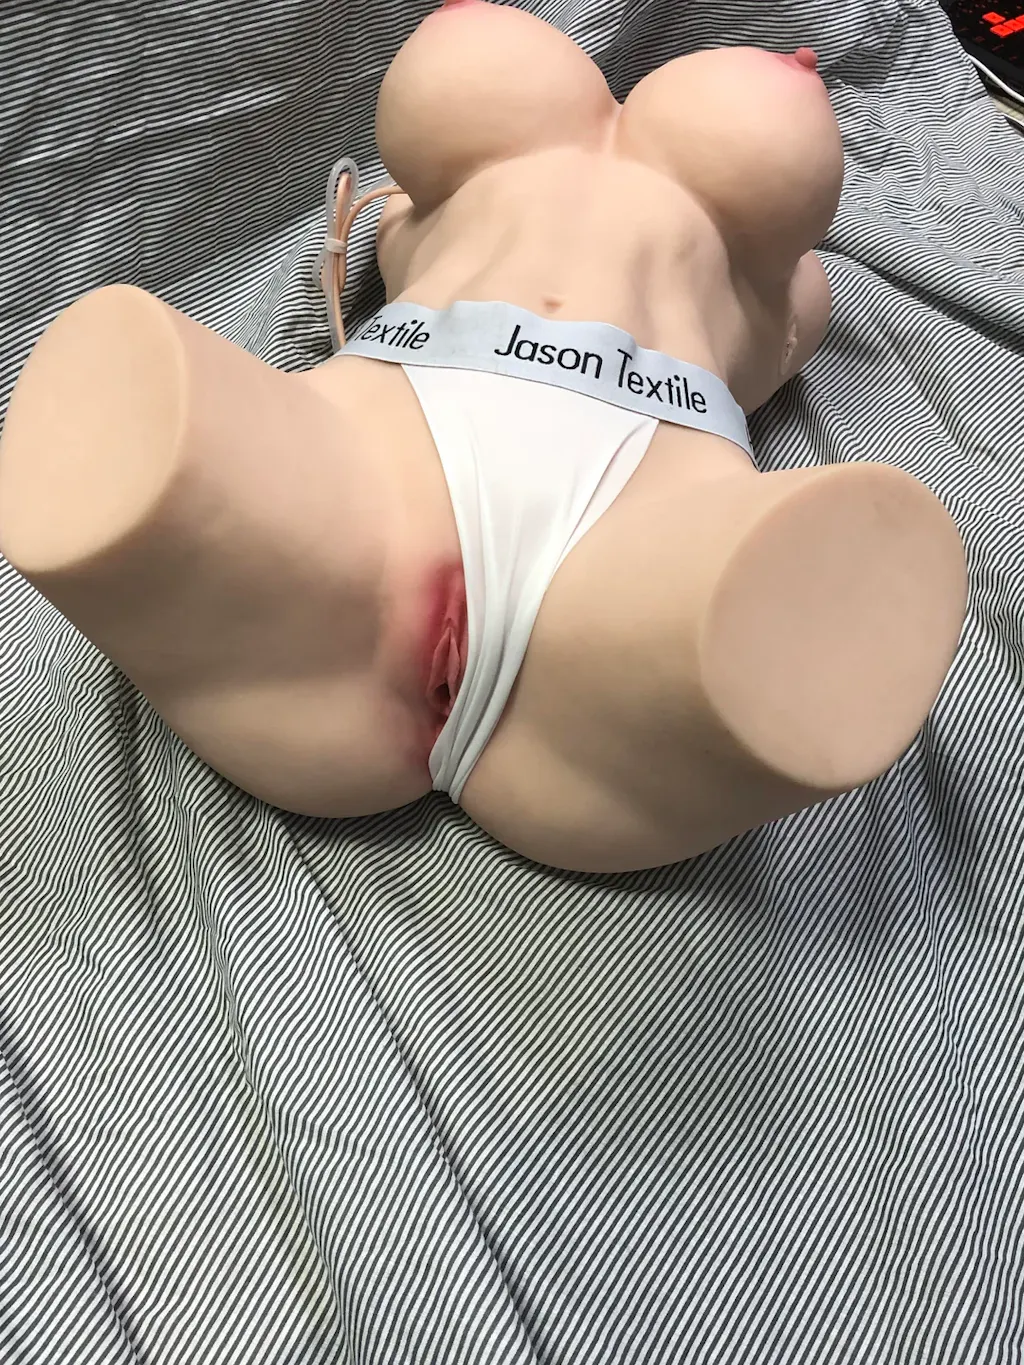
Interior feature development addresses functional elements distinguishing realistic dolls from basic body shapes. Creating detailed internal structures requires patience and precision, with many beginners investing substantial time in this phase. Proper internal construction determines whether make a sex doll at home projects deliver satisfying experiences or prove disappointing.
-
Anatomical Detail Creation: Using molds, sculpting tools, or careful hand-shaping, develop detailed features including facial characteristics, body contours, and intimate anatomical areas. Quality detail work directly impacts satisfaction and perceived quality.
-
Orifice Construction: Create properly dimensioned and textured internal structures matching design specifications. This requires careful engineering and testing to ensure functionality without structural compromise.
-
Feature Integration: Incorporate additional features like articulated joints, detailed fingernails, realistic hair implantation, or other elements enhancing overall realism.
"The difference between basic homemade projects and genuinely satisfying creations separates those rushing construction from makers investing adequate time in detail work. Quality outcomes require patient, systematic building rather than expedited shortcuts." - Marcus Rivera, DIY Product Designer
Week 1: Material sourcing, workspace preparation, framework planning
Week 2-3: Internal skeleton construction, framework testing
Week 4-6: Body structure layering, initial shaping
Week 7-8: Detail work, anatomical refinement
Week 9: Finishing, coloring, texture application
Week 10: Testing, adjustments, completion
How Do Beginners Achieve Professional Finishing Touches When Creating a Homemade Sex Doll?
Transforming completed construction into genuinely satisfying finished products distinguishes successful makes a sex doll at home from projects appearing obviously homemade and crude. The finishing phase determines whether viewers and users perceive products as thoughtfully crafted or hastily assembled, with professional touches separating impressive projects from disappointing ones. Attention to finishing details reflects overall quality and builder commitment to excellence.
Appearance refinement begins with surface smoothing, removing construction marks, seams, and irregularities that signal poor craftsmanship. Sanding with progressive grit progression—starting with coarser grades and finishing with fine-grit materials—creates smooth, uniform surfaces. Many builders discover that surface preparation represents the most time-consuming phase but delivers the most dramatic quality improvements, transforming rough constructions into polished products.
Begin with coarse-grit sandpaper (80-120 grit) to remove major irregularities, progressing to medium grades (180-220), then fine grades (320-400+) for smooth surfaces. For silicone projects, specialized silicone smoothing compounds or techniques using heat may prove superior to traditional sanding. Test finishing approaches on small areas before committing to entire projects.
Coloring and texture application transforms plain surfaces into realistic, appealing presentations. Proper coloring uses silicone or TPE-compatible pigments applied evenly throughout construction materials or applied as finishing coats. Strategic texture variation—creating areas mimicking natural skin texture variation—dramatically enhances realism compared to uniform surfaces. The difference between amateur and professional-appearing products frequently separates those investing in detailed coloring and texturing from those applying basic single-color finishes.
-
Pigmentation Strategy: Incorporate color during material mixing for even distribution, or apply surface coloring after structure completion. Multiple pigment layers create depth and realistic variation that single-color applications cannot match.
-
Texture Creation: Use texture tools, specialty implements, or materials creating realistic surface variation. Natural skin exhibits texture variation that uniform surfaces fail to replicate—strategic texturing enhances perceived realism significantly.
-
Anatomical Detailing: Careful work on facial features, including realistic eye positioning, natural lip contours, and subtle cheekbone definition, dramatically improves overall appearance and satisfaction levels.
-
Hair Installation: Rooting or applying realistic hair significantly enhances appeal. Whether implanting individual hairs or applying complete wigs, quality hair installation distinguishes polished projects from obviously homemade creations.
"Professional appearance results from accumulated attention to numerous small details rather than any single dramatic technique. Beginners who maintain focus through finishing phases consistently produce results exceeding expectations." - Jennifer Park, Finishing Specialist
Protective coating application protects finished surfaces while enhancing appearance. Specialized sealants preserve coloring, protect against environmental damage, and simplify maintenance. Quality finishing projects typically conclude with appropriate protective coatings ensuring longevity of invested effort.
What Safety Considerations and Testing Protocols Should Makers Understand Before Completing Homemade Projects?
Ensuring functionality, safety, and satisfaction requires systematic testing before concluding make a sex doll at home projects. Quality testing separates products ready for use from items requiring adjustments, repairs, or complete rework. Comprehensive testing protocols catch problems while solutions remain simple, rather than discovering failures after completion.
Material safety verification ensures that finished projects won't cause irritation, allergic reactions, or health concerns through contact with skin or mucous membranes. Using certified materials, avoiding toxic additives, and confirming material hypoallergenic properties protects users from harm. Beginners unfamiliar with material properties should research thoroughly or consult specialists before committing to large-scale projects using unfamiliar materials.
Before completing any make a sex doll at home project, verify that all materials are body-safe, non-toxic, and hypoallergenic. Avoid materials containing phthalates, BPA, or other harmful chemicals. Test finished products thoroughly for sharp edges, material integrity issues, or structural weaknesses before use. Never use products with visible damage, deterioration, or structural concerns.
-
Structural Integrity Testing: Carefully inspect all joints, seams, and stress points for weakness. Apply controlled stress to identify failure points before actual use reveals problems requiring emergency repairs.
-
Material Durability Assessment: Test material strength, flexibility, and durability through simulated use conditions. Identify any areas showing excessive wear, tearing, or degradation.
-
Functionality Verification: Test all features, joints, and mechanisms ensuring they function as designed. Identify any adjustments needed before use.
-
Hygiene and Cleanability: Verify that finished projects can be cleaned thoroughly and dried completely to prevent bacterial growth or contamination.
"Successful DIY makers distinguish their projects through rigorous testing before considering projects complete. Comprehensive testing catches problems early, when solutions remain manageable." - Dr. Thomas Anderson, Quality Assurance Specialist
Storage and maintenance planning ensures homemade projects remain functional across extended lifespans. Proper storage in cool, dry environments prevents material degradation. Detailed care instructions—documenting how to clean, maintain, store, and repair projects—protect investments and extend product lifespan significantly.
Frequently Asked Questions About Making a Sex Doll at Home
DIY projects to make a sex doll at home typically range from $100-$500 depending on material choices, size, and complexity. Budget projects using TPE cost $100-$200, while premium silicone creations reach $300-$500 or more. Commercial products range from $200-$3,000+, making homemade projects significantly more affordable for budget-conscious makers. Cost savings increase with scale—building multiple dolls reduces per-unit material costs substantially. Quality outcomes depend more on builder skill and attention than raw material expense.
Dedicate adequate clean, well-ventilated workspace preventing material contamination and protecting other household items. Establish proper ventilation, particularly when working with silicone or TPE compounds that may emit fumes. Wear appropriate protective equipment including gloves, masks, and eye protection. Organize materials, tools, and reference documentation systematically preventing confusion. Allow adequate temperature control—most materials require specific temperature ranges for proper curing. Establish clear project area boundaries and schedule uninterrupted building blocks minimizing interruptions.
First-time projects typically require 8-12 weeks from start to completion, including material sourcing, construction, detailing, and testing phases. Budget additional time for learning, mistakes, adjustments, and rework. Experienced makers subsequently complete projects in 4-6 weeks as familiarity with processes accelerates workflow. Quality outcomes benefit from patience and deliberate pacing rather than rushed completion. Many beginners discover that rushing creates problems requiring time-consuming corrections, ultimately requiring more total time than steady progression would have demanded.
Frequent beginner mistakes include: underestimating required timeframes, using inappropriate materials, rushing construction phases, inadequate framework design, insufficient detail work, minimal finishing effort, and skipping thorough testing. Many beginners discover too late that framework problems jeopardize entire projects—proper planning and testing during early phases prevents catastrophic failures. Others invest minimal effort in finishing touches, producing obviously amateur results despite adequate construction. Learning from documented mistakes helps subsequent builders avoid repeating preventable errors.
Yes, but with preparation and realistic expectations. Using molds, reference materials, and careful measurement enables anatomical accuracy without advanced sculpting skills. Many beginners successfully create realistic results through patient attention to proportions and detail work. References from medical sources, anatomical illustrations, and high-quality commercial products guide proportional accuracy. Starting with simpler designs before attempting complex anatomical accuracy helps build skills progressively. Accepting that initial projects may not achieve photorealistic appearance prevents disappointment—each project teaches lessons improving subsequent efforts.
Proper storage in cool, dry environments prevents material degradation. Establish regular cleaning routines using appropriate products that won't damage materials. Inspect periodically for wear, damage, or deterioration, addressing minor issues promptly before they become major problems. Avoid exposing materials to extreme temperatures, direct sunlight, or harsh chemicals. Maintain detailed documentation of what materials and techniques were used, enabling future repairs or modifications. Professional-quality maintenance extends product lifespan significantly, with properly maintained homemade dolls potentially remaining functional 5-10+ years.
Successfully learning how to make a sex doll at home requires honest assessment of required time, effort, and investment combined with systematic execution and quality focus throughout all construction phases. Beginning with appropriate materials, establishing proper workspace, following detailed construction steps, investing adequate time in finishing touches, and conducting thorough testing culminates in functional, satisfying homemade creations that justify the effort invested. Whether motivated by cost considerations, customization desires, or creative expression, beginners who approach projects with patience, attention to detail, and realistic expectations frequently exceed initial quality anticipations. The journey of creating custom products develops valuable skills, provides creative fulfillment, and ultimately delivers satisfaction that transcends the finished products themselves, creating lasting value from dedicated effort and careful attention to quality throughout every construction phase.